In today’s interconnected world, using a proxy server is like having a secret passageway in your digital life. Whether you’re looking to enhance your online privacy, access region-restricted content, or manage your internet traffic more efficiently, setting up a proxy server on Windows 11 can be your golden ticket. This guide will walk you through the steps of configuring both automatic and manual proxy settings, while also introducing you to the powerful features of Proxy 302.
Why Use a Proxy?
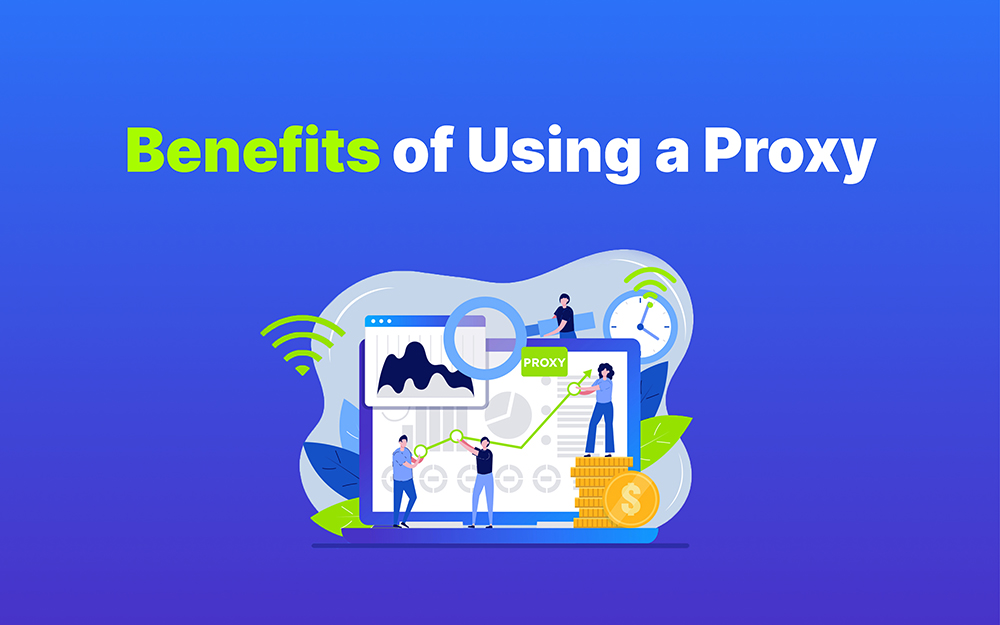
Before we jump into the nitty-gritty of proxy setup, let’s take a moment to understand why you might want to use a proxy in the first place. Think of a proxy server as a middleman between your computer and the internet. It can help you:
- Enhance Privacy: By masking your IP address, proxies make it harder for websites to track your online activities.
- Bypass Geo-Restrictions: Access content that might be blocked in your region. Whether it’s streaming services, news sites, or social media platforms, a proxy can help you get around these digital barriers.
- Improve Network Performance: Some proxies can cache data, reducing load times and improving your browsing speed.
Windows 11 Proxy Setup Guide
Automatic Proxy Setup
Windows 11 makes it easy to automatically configure proxy settings, especially if your network administrator provides a configuration script. This method is like setting your GPS to auto-pilot – easy and efficient.
Steps to Set Up Automatic Proxy:

- Open Settings:
- Click on the Start menu, then select Settings or simply press
Windows + I.
- Click on the Start menu, then select Settings or simply press
- Navigate to Network & Internet:
- In the Settings window, click on Network & Internet from the left sidebar.
- Access Proxy Settings:
- Scroll down and select Proxy.

- Enable Setup Script:
- Under Automatic proxy setup, toggle the Use setup script switch to On.
- Enter the Script address provided by your network administrator.
- Click Save.
- Test Your Connection:
- Open a web browser and visit a website to ensure your proxy settings are working.
Practical Case: Using Proxy 302 for Automatic Configuration
Imagine you’re using Proxy 302, a service known for its flexibility and global reach. With Proxy 302, setting up an automatic configuration is a breeze. Simply input the script address provided by Proxy 302, and you’re good to go. This service offers a pay-as-you-go model, eliminating the hassle of tiered pricing and making it perfect for both casual users and businesses.
Manual Proxy Setup
If you prefer the DIY route and have the IP address and port of a proxy server, you can manually configure it in Windows 11. Think of this as crafting your own custom path through the internet.
Steps to Set Up Manual Proxy:

- Open Settings:
- Click on the Start menu, then select Settings or press
Windows + I.
- Click on the Start menu, then select Settings or press
- Navigate to Network & Internet:
- In the Settings window, click on Network & Internet from the left sidebar.
- Access Proxy Settings:
- Scroll down and select Proxy.
- Configure the Proxy Server:
- Under Manual proxy setup, toggle the Use a proxy server switch to On.
- Enter the IP address and Port of the proxy server.
- If necessary, enter any addresses that should bypass the proxy in the Do not use the proxy server for addresses beginning with box.
- Click Save.

- Verify the Configuration:
- Open a web browser and check if the proxy settings are functioning correctly.
Practical Case: Setting Up Proxy 302 Manually
With Proxy 302, manual setup is straightforward. You receive a list of IP addresses and ports that you can use to configure your Windows 11 system. This flexibility is ideal for users who need to switch between different proxy locations, allowing access to a wide range of geo-restricted content.
Troubleshooting Common Issues
Even with the best intentions, things can sometimes go awry. Here are some common issues you might encounter and how to fix them:
- Incorrect Proxy Address: Double-check the IP address and port number for accuracy. A simple typo can disrupt your connection.
- Authentication Required: Some proxies require a username and password. Make sure you have these credentials if needed.
- Network Connectivity Issues: If you experience connectivity problems, verify that the proxy server is online and reachable.
Proxy 302: The Most Flexible Global Premium Proxy
Proxy 302 stands out in the proxy landscape with its unique features:
- Pay-as-you-go Model: No need to worry about tiered pricing. You pay only for what you use.
- Global Coverage: Access proxies from various locations worldwide, perfect for businesses needing a broad reach.
- Easy Setup: Whether you choose automatic or manual configuration, Proxy 302 provides user-friendly options to get you started quickly.
Conclusion
Setting up a proxy in Windows 11 is like giving your internet experience a passport to the world. Whether you’re using automatic or manual methods, this guide equips you with the knowledge to navigate your proxy settings confidently. And with Proxy 302, you have a reliable partner offering flexibility and global reach.
Ready to explore the benefits of a premium proxy service? 👉 Start Your Free Trial Now 👈 and experience the difference it can make in your digital life. Visit Proxy 302 to get started.





4 comments
Thank you for your sharing. I am worried that I lack creative ideas. It is your article that makes me full of hope. Thank you. But, I have a question, can you help me?
Thanks for sharing. I read many of your blog posts, cool, your blog is very good.
I don’t think the title of your article matches the content lol. Just kidding, mainly because I had some doubts after reading the article.
I liked how the guide covered both automatic and manual setup—really useful for beginners and more advanced users alike. Do you think there’s a noticeable performance difference between using a system-wide proxy and configuring it within individual apps?