Shadowrocket is a powerful iOS app designed to function as a rule-based proxy client, allowing users to intercept, analyze, and route their network traffic through proxy servers. It supports HTTP, HTTPS, and TCP traffic, making it a versatile tool for enhancing online security, privacy, and efficiency. This guide will walk you through the steps to set up and use proxies with Shadowrocket, along with tips for optimizing your experience.
1. What Is Shadowrocket?

Shadowrocket is an iOS app that captures all HTTP/HTTPS/TCP traffic from any application on your device and redirects it to a proxy server. It is particularly useful for:
- Bypassing Restrictions: Accessing geo-blocked or restricted content.
- Enhancing Privacy: Masking your IP address and encrypting your traffic.
- Optimizing Performance: Distributing traffic across multiple proxies for better speed and reliability.
2. Types of Proxies Compatible with Shadowrocket
Shadowrocket supports various types of proxies, including:
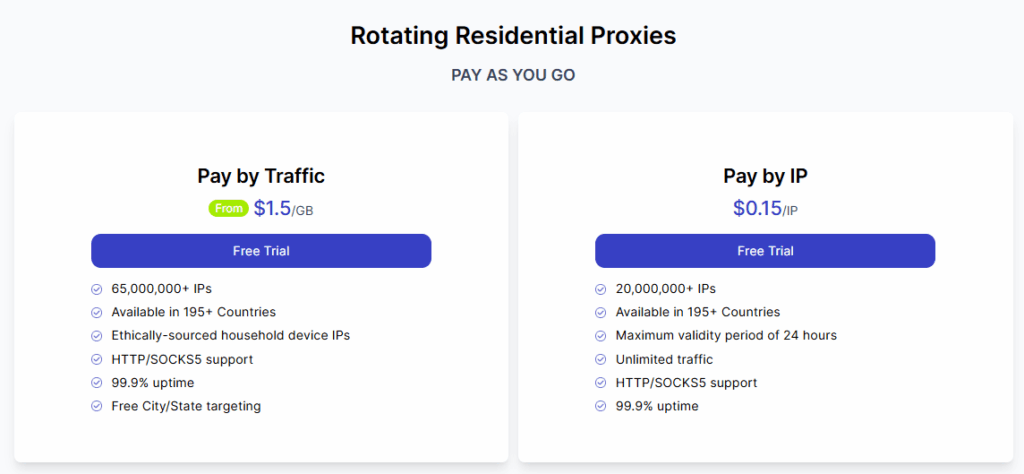
- Residential Proxies: Use real IP addresses from ISPs, offering high anonymity and reliability.
- Datacenter Proxies: Provide faster speeds and are cost-effective, ideal for high-volume tasks.
- Mobile Proxies: Use mobile IP addresses, making them harder to detect and block.
3. How to Set Up Proxies with Shadowrocket
Step 1: Download and Install Shadowrocket
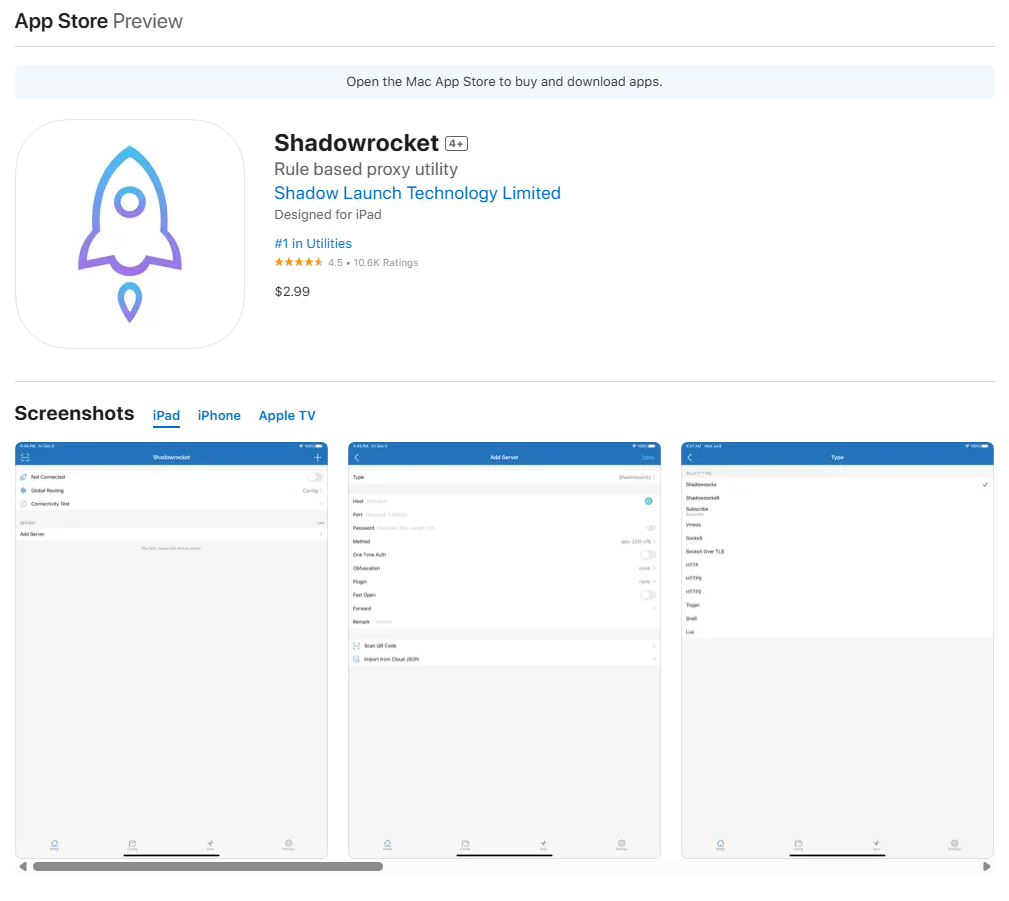
Shadowrocket is available on the App Store. Download and install it on your iPhone or iPad.
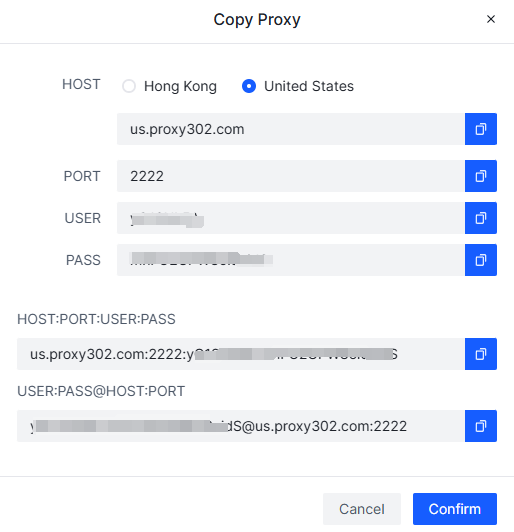
Step 2: Obtain Proxy Credentials
Purchase or obtain proxy credentials (HOST, PORT, USERNAME, PASSWORD) from a reliable provider like Proxy302. Ensure the proxy type (e.g., residential, datacenter) matches your needs.
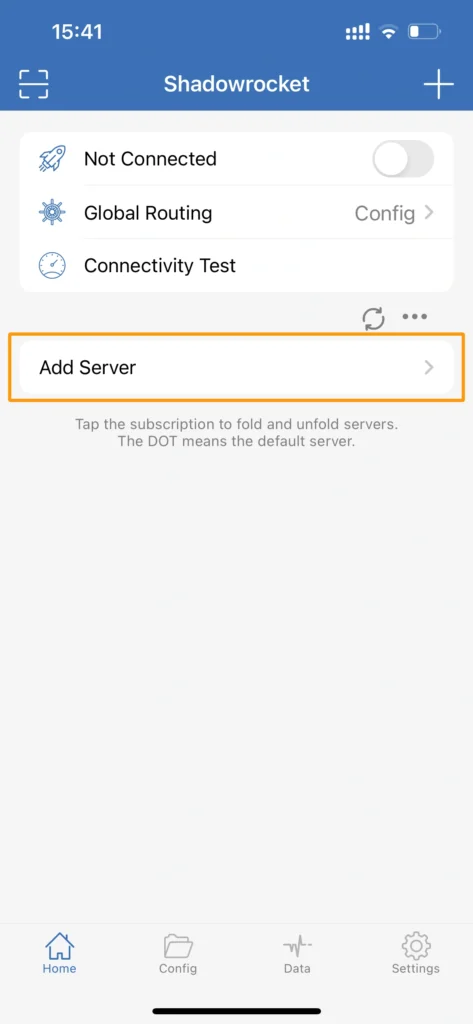
Step 3: Configure the Proxy in Shadowrocket
- Open Shadowrocket and tap the “+” button to add a new proxy.
- Enter the proxy details, including the server address, port, username, and password.
- Select the appropriate protocol (e.g., HTTP, HTTPS, SOCKS5) based on your proxy type.

Step 4: Enable the Proxy
Once configured, enable the proxy by toggling the switch in Shadowrocket. All network traffic from your device will now be routed through the proxy server.
4. Tips for Optimizing Proxy Use with Shadowrocket
- Use Residential Proxies for High Anonymity: Residential proxies are less likely to be flagged as proxies, making them ideal for sensitive tasks.
- Rotate Proxies for High-Volume Tasks: Use a proxy rotation service to distribute traffic across multiple IPs and avoid rate limits.
- Monitor Proxy Performance: Regularly check the speed and reliability of your proxies to ensure optimal performance.
- Comply with Terms of Service: Avoid using proxies for abusive or unauthorized activities to prevent account bans.
5. Common Use Cases for Shadowrocket and Proxies
- Web Scraping: Use proxies to bypass IP-based restrictions and extract data efficiently.
- Accessing Geo-Blocked Content: Route traffic through proxies in specific regions to access restricted content.
- Enhancing Online Security: Mask your IP address and encrypt your traffic to protect your privacy.
Conclusion
Using proxies like Proxy302 with Shadowrocket is a powerful way to enhance your online experience, whether for bypassing restrictions, improving privacy, or optimizing performance. By following the steps outlined in this guide and adhering to best practices, you can set up and use proxies effectively with Shadowrocket.
👉 Start Your Free Trial of Proxy302 Now 👈